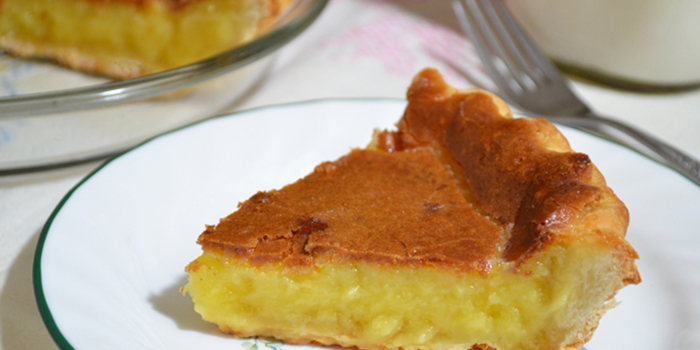
Wipe that puzzled look off your face, it really doesn’t taste like buttermilk. It’s one of the first questions people ask when they hear about this pie, so you’re not alone if that’s what you’ve been wondering.
Buttermilk pie is one of those old traditional Southern desserts that goes back through generations. Surprisingly though, it’s said that buttermilk pie originates from the United Kingdom. I guess because it has buttermilk in the name, folks just figure it comes from the South.
Some people confuse it with a chess pie, but it doesn’t contain corn meal. I had to resist the temptation to add it, but you’ll find many recipes that call for it. Its crust can be made from scratch, or you can use one of those ready-made pie crusts. Just don’t try to make it with a graham crust, as it takes about 45 minutes to fully bake and you probably wouldn’t be pleased with the results of that.
I use just a dash of nutmeg, and a little vanilla extract in making this old fashioned version. It comes from a hand written recipe that I found and had to try. I really think you’ll like it should you decide to try one for yourself.
A few months back, I watched an episode of A Chef’s Life on the UNC-TV website. Vivian Howard and her husband Ben, visited Maple View Farm over in Hillsborough, North Carolina, to purchase milk for their restaurant down in Kinston. When I saw them pour some Buttermilk during the episode, I knew I wanted to try it. I haven’t switched since. (Thanks Vivian and Ben)
The buttermilk at Maple View Farm has a much thicker texture than the watery stuff you’ll find in the average carton in the grocery store. They package it in glass bottles, and while I like that, I always forget to take my empties back for a refund. Still, I really enjoy their milk products and they aren’t paying me a cent for saying that. They don’t even know I exist.
Ready to give our buttermilk pie a try? Alright then, let’s get some flour on our face and… let’s get cooking!
What you’ll need to make the dish:
- 1 stick butter, softened
- 2 cups sugar
- 3 egg yolks
- 3 tablespoons flour
- 1 cup buttermilk
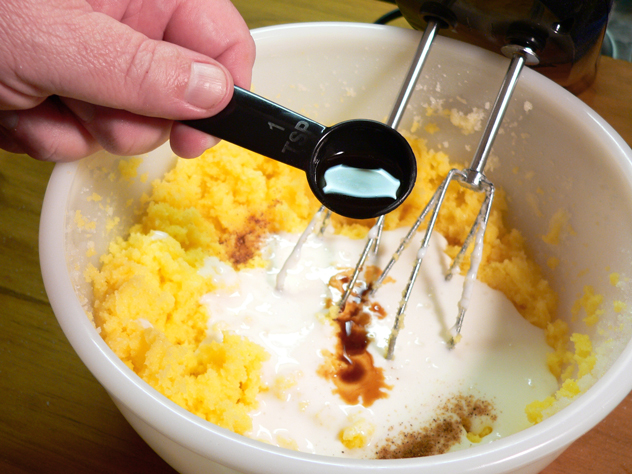
- 1 teaspoon vanilla extract
- dash of nutmeg
- one unbaked pie crust
Buttermilk Pie Recipe (PDF).
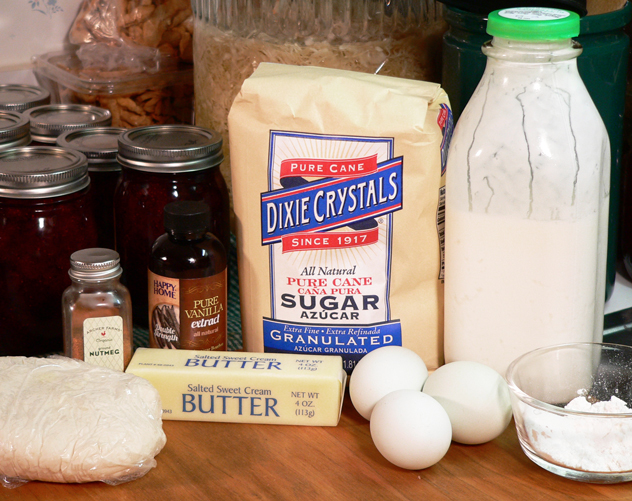
Buttermilk Pie: You’ll need these ingredients.
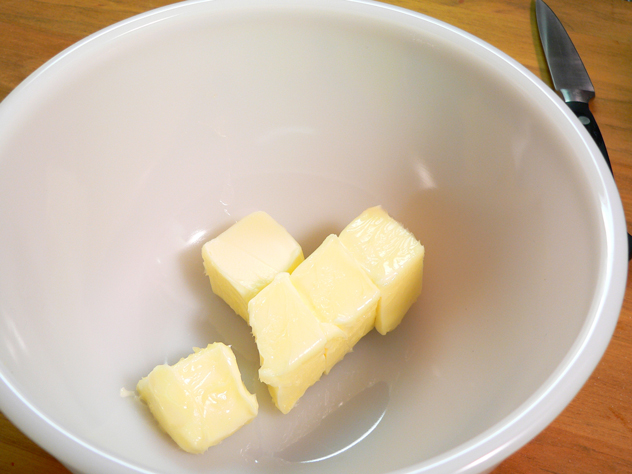
All of your ingredients need to be at room temperature before starting. Begin by placing the softened butter in a medium sized mixing bowl.
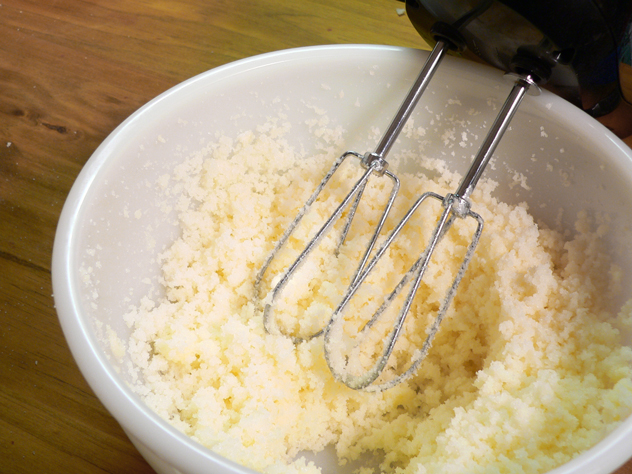
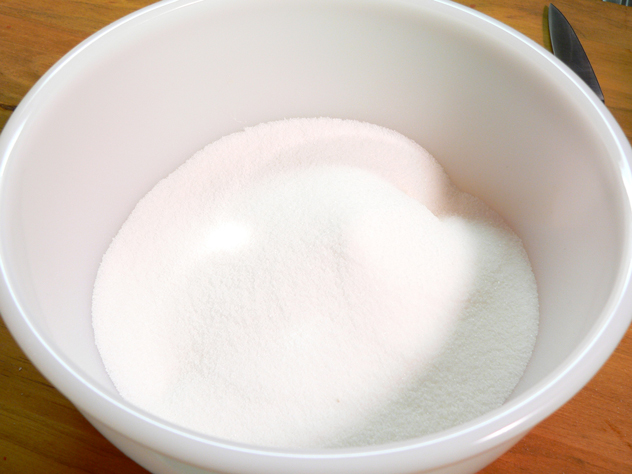
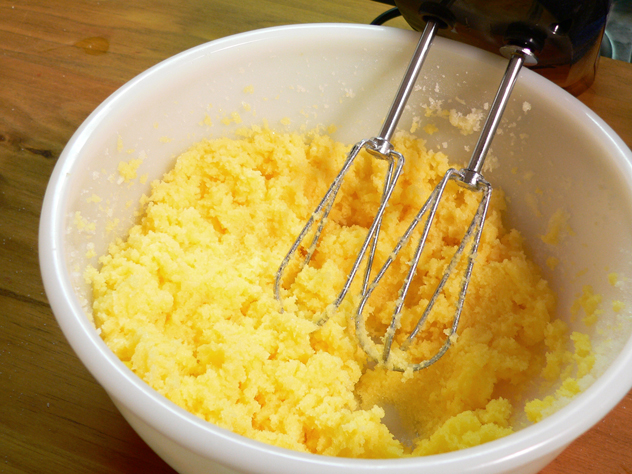
Using a hand mixer, cream the butter and sugar together well.
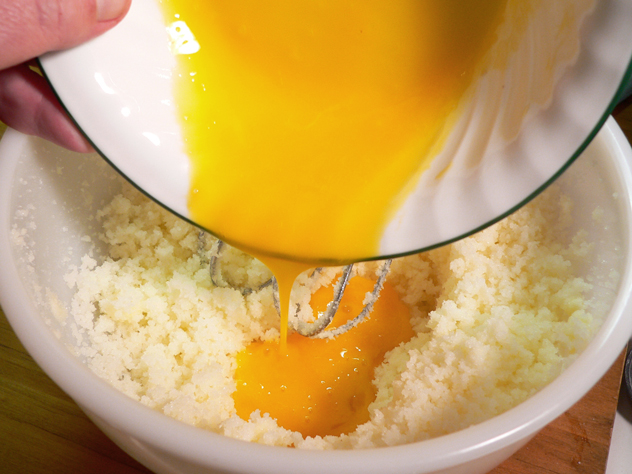
Add the slightly beaten egg yolks. This old recipe doesn’t call for whole eggs. The egg whites were often used to make a meringue for the top of the pie. You can do that if you prefer, but we’re not making a meringue for this one.
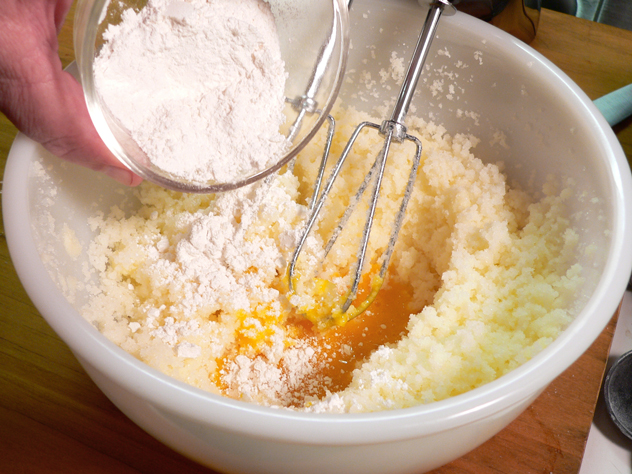
Add the flour. I used all-purpose because it was the closest thing at hand.
Using the hand mixer again, beat the mixture on a lower speed until everything is fully incorporated together.
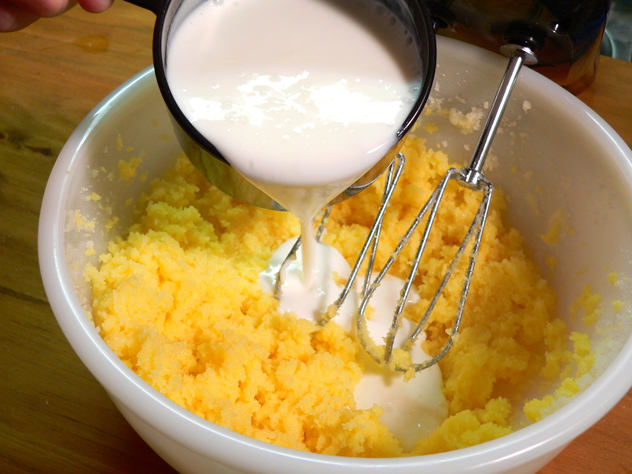
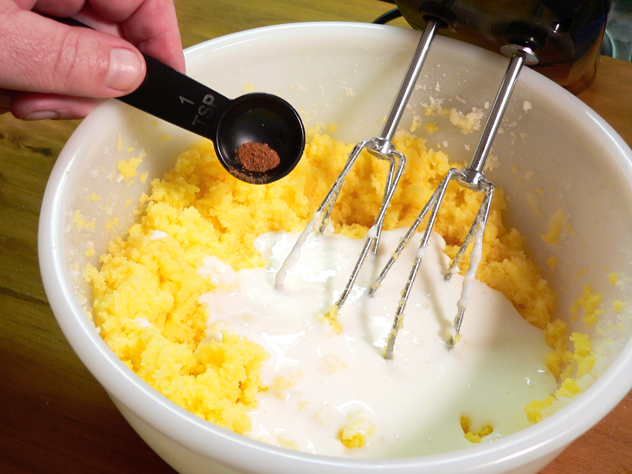
Add the buttermilk. I really like the thick texture and great taste of this Maple View Farm buttermilk. They make some great chocolate milk as well as regular milks and butter. The farm is located in Hillsborough, North Carolina, and they have been bottling milk in glass bottles right on the farm since 1996. I hope to visit their country store soon and try some of their ice cream.
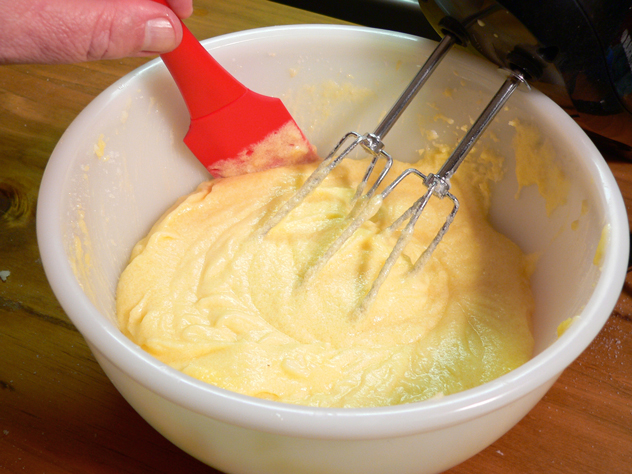
Mix everything together well, scraping down the sides of the bowl as needed.
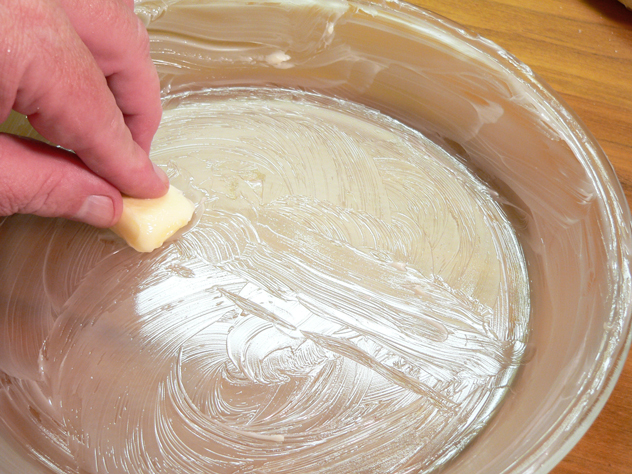
If you’re making your own pie crust, you might prefer to butter the pie plate before adding the dough. I like to use a glass dish, and even though my crusts are made with butter, I find a little more in the bottom of the dish never hurts.
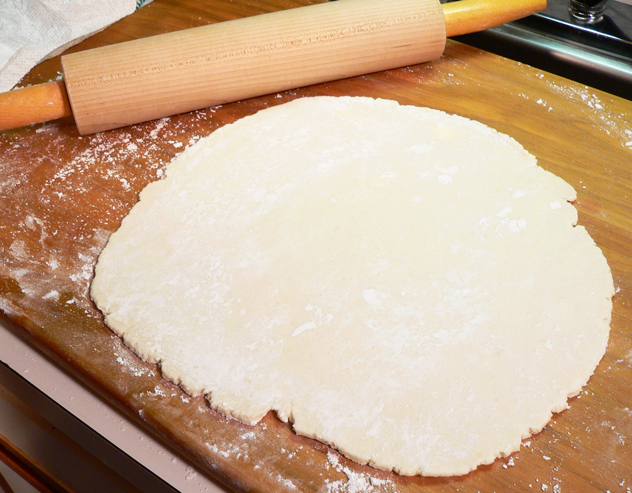
Roll out your pie dough for the crust. I make my own crusts most of the time, and you can find my Basic Pie Crust recipe with step-by-step, photo illustrated instructions over on Taste of Southern. I make enough for two pie crusts, then freeze one until needed at a later date.
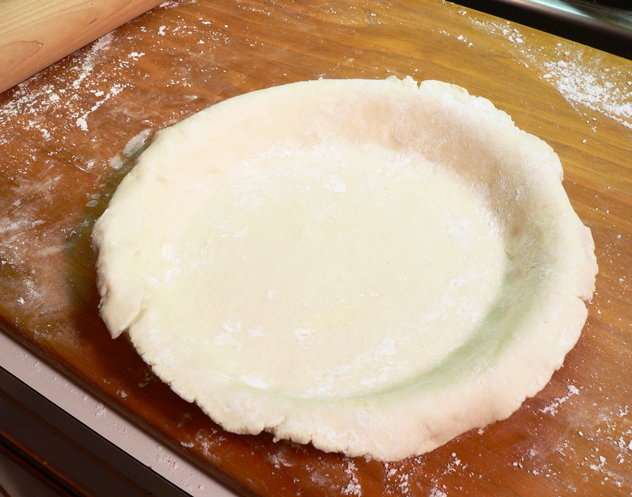
Place the dough in your pie plate, trim the edges and shape as desired. You can certainly use a ready-made pie crust, or ready-made pie dough, from your local grocery store to make your pie. You just don’t want to use a graham cracker crust, as the pie will need to bake for a good amount of time.
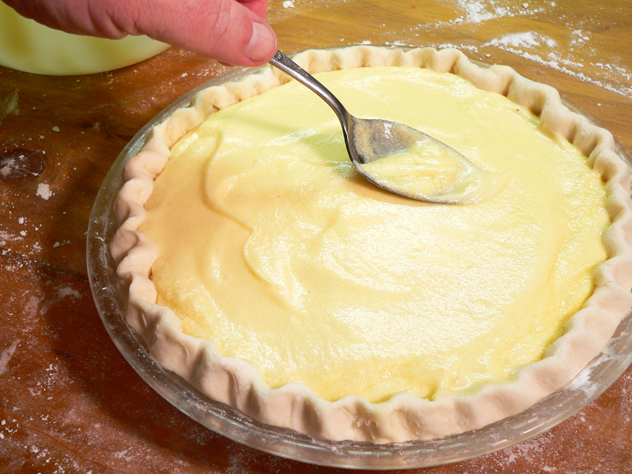
Spoon the filling into the prepared crust, and spread it out evenly with a spatula or the back of a spoon. Place the pie on the bottom rack of your oven so the bottom of the crust will have a better chance to fully bake.

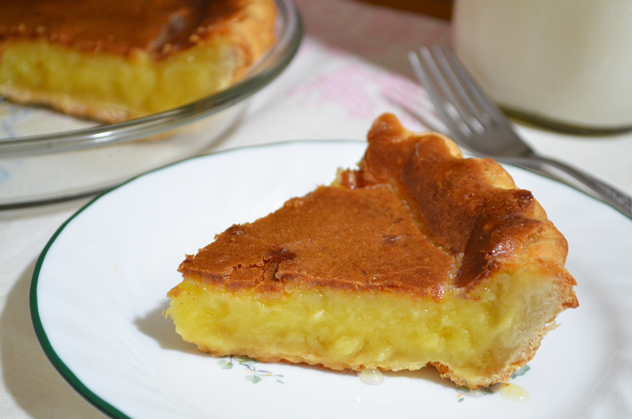
Bake the pie at 350ºF for about 40 to 45 minutes, or until the center of the pie is firm. Baking times will vary, and you will need to watch the pie carefully so it doesn’t burn. The center of the pie should jiggle slightly when done. You could also test it by inserting a wooden toothpick into the center. If it pulls out fairly clean, the pie is done.You will also want to protect the edges of your pie as it bakes. Wrap the edges with aluminum foil, or use one of the crust protectors made for just that purpose. I had to place a foil tent over my pie after about 25 minutes to keep the top from browning too much, and it still got pretty dark looking. Just make sure the tent is raised up high enough that it isn’t touching the top of the pie while it bakes.When the pie is done, remove it from the oven and place it on a wire rack to cool completely. Once cooled, wrap it with clear plastic wrap and place it in the refrigerator to help it firm up. The finished pie can also be frozen and served later.
—
Steve Gordon is a writer, recipe tester, and lover of all things Southern. You can read more of his writing and step-by-step recipes at tasteofsouthern.com. Click here to find more of his recipes.
print it